How to Send Crypto from Coinbase to Metamask
TABLE OF CONTENTS
Coinbase is one of the popular trading platforms in the crypto space. The exchange allows users to trade thousands of digital assets, including Bitcoin and Ethereum. However, investors looking to store their assets in a stand-alone wallet turn to the popular cryptocurrency provider, Metamask. Here's how you can safely transfer crypto, such as Bitcoin or Ethereum, from Coinbase to Metamask.
Featured Partner
Kraken
Best Exchange To Buy Bitcoin
4.8 out of 5.0
Kraken is a top-rated and regulated exchange best known for its safety and multiple methods to buy Bitcoin and crypto worldwide.
222
USD, GBP, EUR, CAD, CHF, JPY & AUD
Bank transfer, SWIFT, SEPA, debit and credit card
0.16% (maker) and 0.26% (taker)
How To Transfer From Coinbase to Metamask
Step 1. Open Coinbase
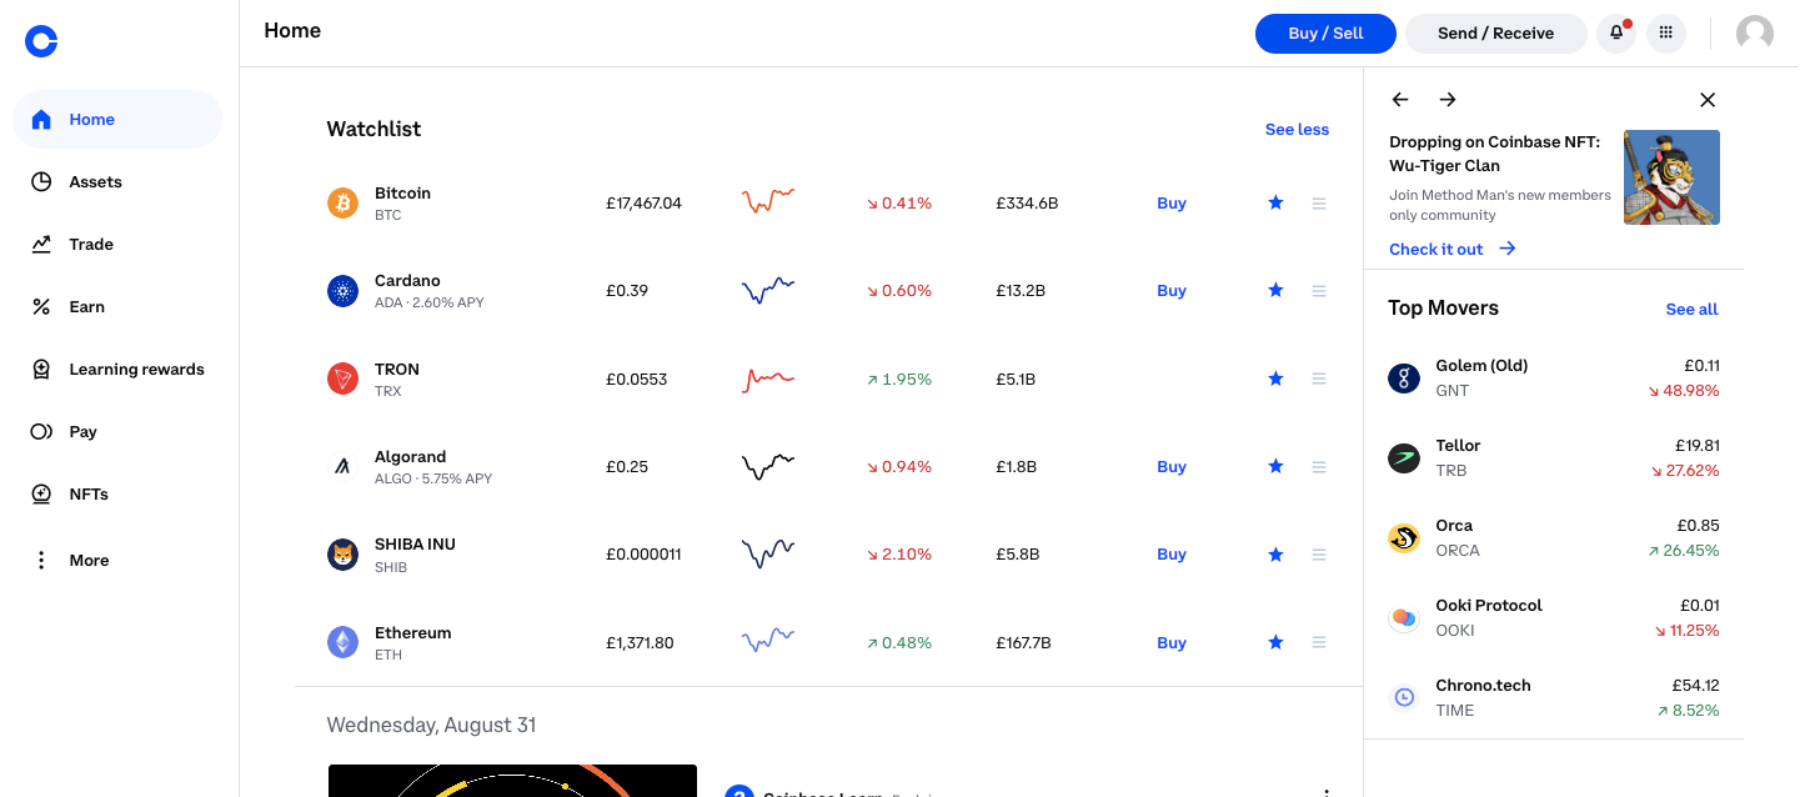
Create a new Coinbase account or log into an existing account using the registered credentials. Once logged in, the main dashboard will be shown. Tap on the ‘Send/Receive' button on the top right-hand corner of the dashboard. Once you have decided on the crypto to withdraw from Coinbase, select the asset and click on ‘Send’ to transfer the asset to Metamask.
Step 2. Open the Metamask wallet
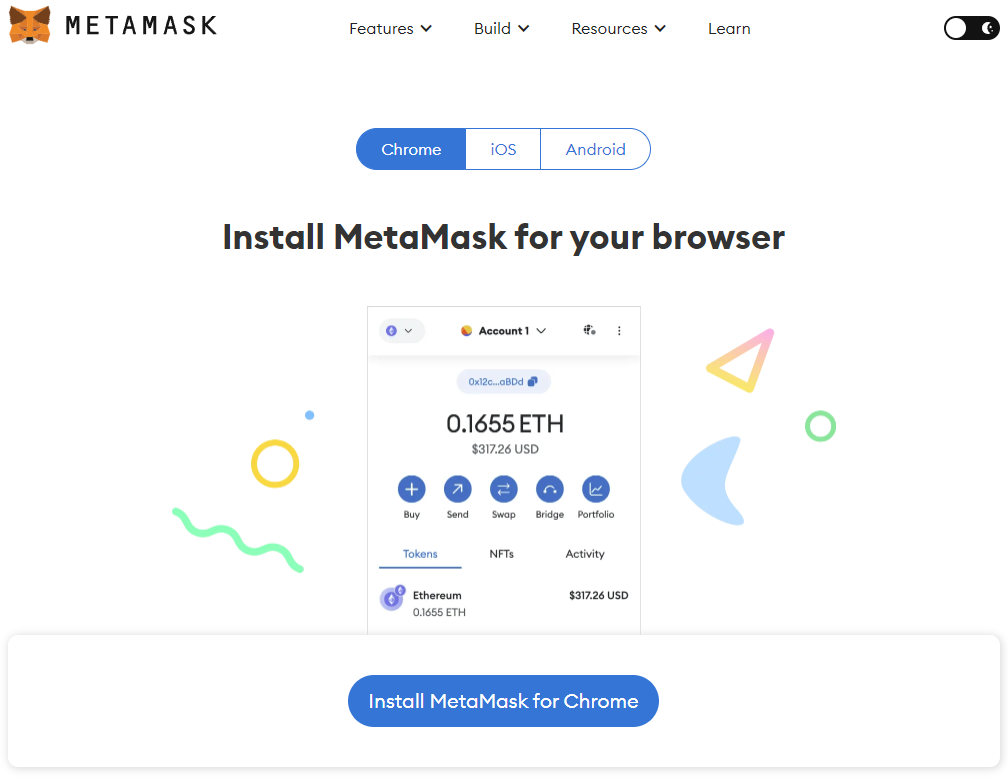
For those who don't have a Metamask wallet, the next step is to visit the website and download the wallet. The application can be downloaded for free to a mobile device such as iOS and Android devices. Alternatively, it can be installed on a desktop as a Chrome browser extension. There will be prompts to create a new wallet and set up a passphrase to recover a MetaMask wallet if the password is forgotten.
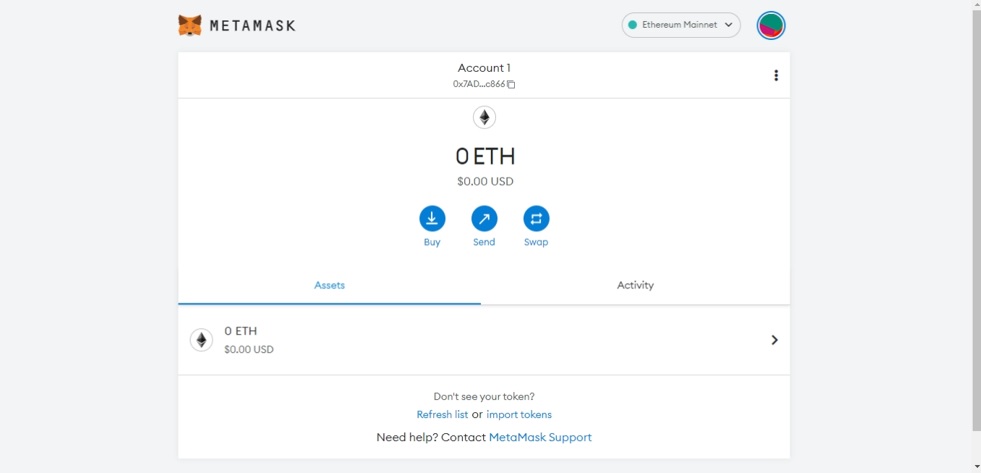
Existing Metamask wallet users can open the Metamask extension by tapping the applicable icon. Insert password to gain access.
Step 3. Select the cryptocurrency to transfer
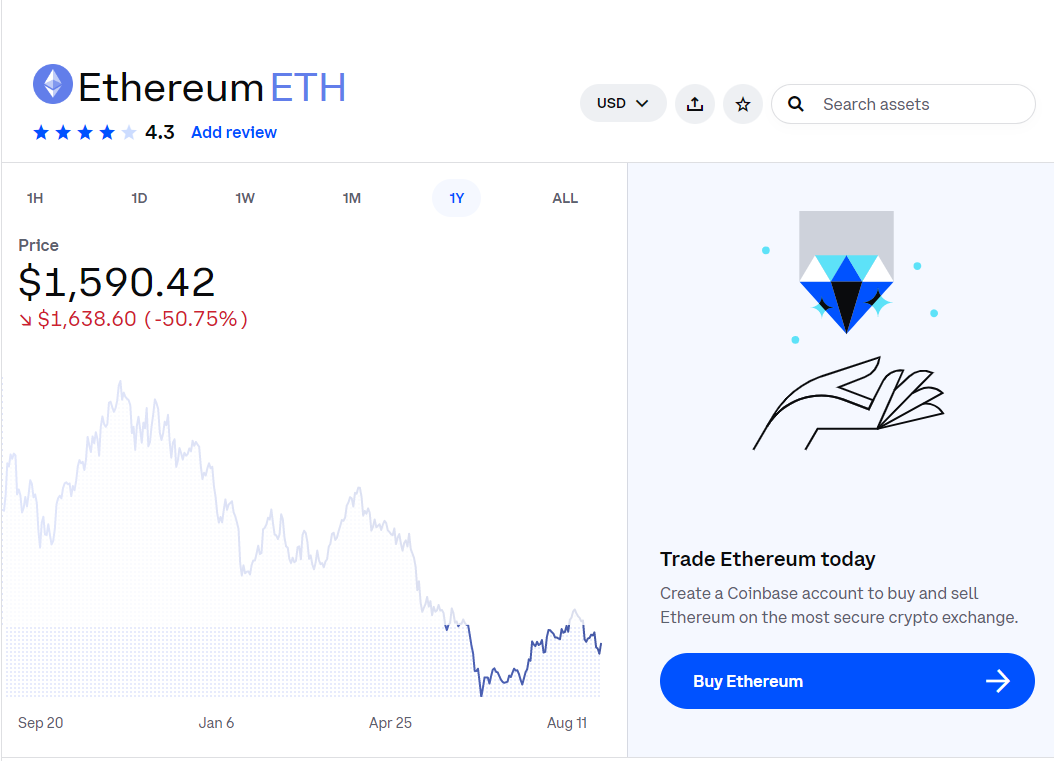
In the Metamask wallet, find the crypto asset to be transferred and click on the “Copy” icon to obtain the wallet address for that asset. For example, to transfer Ethereum, find the ETH wallet and click on the ‘Copy’ icon to obtain the Coinbase Ethereum wallet address.
Related: List of the best Ethereum wallets to choose from.
Step 4. Paste MetaMask Wallet On Coinbase
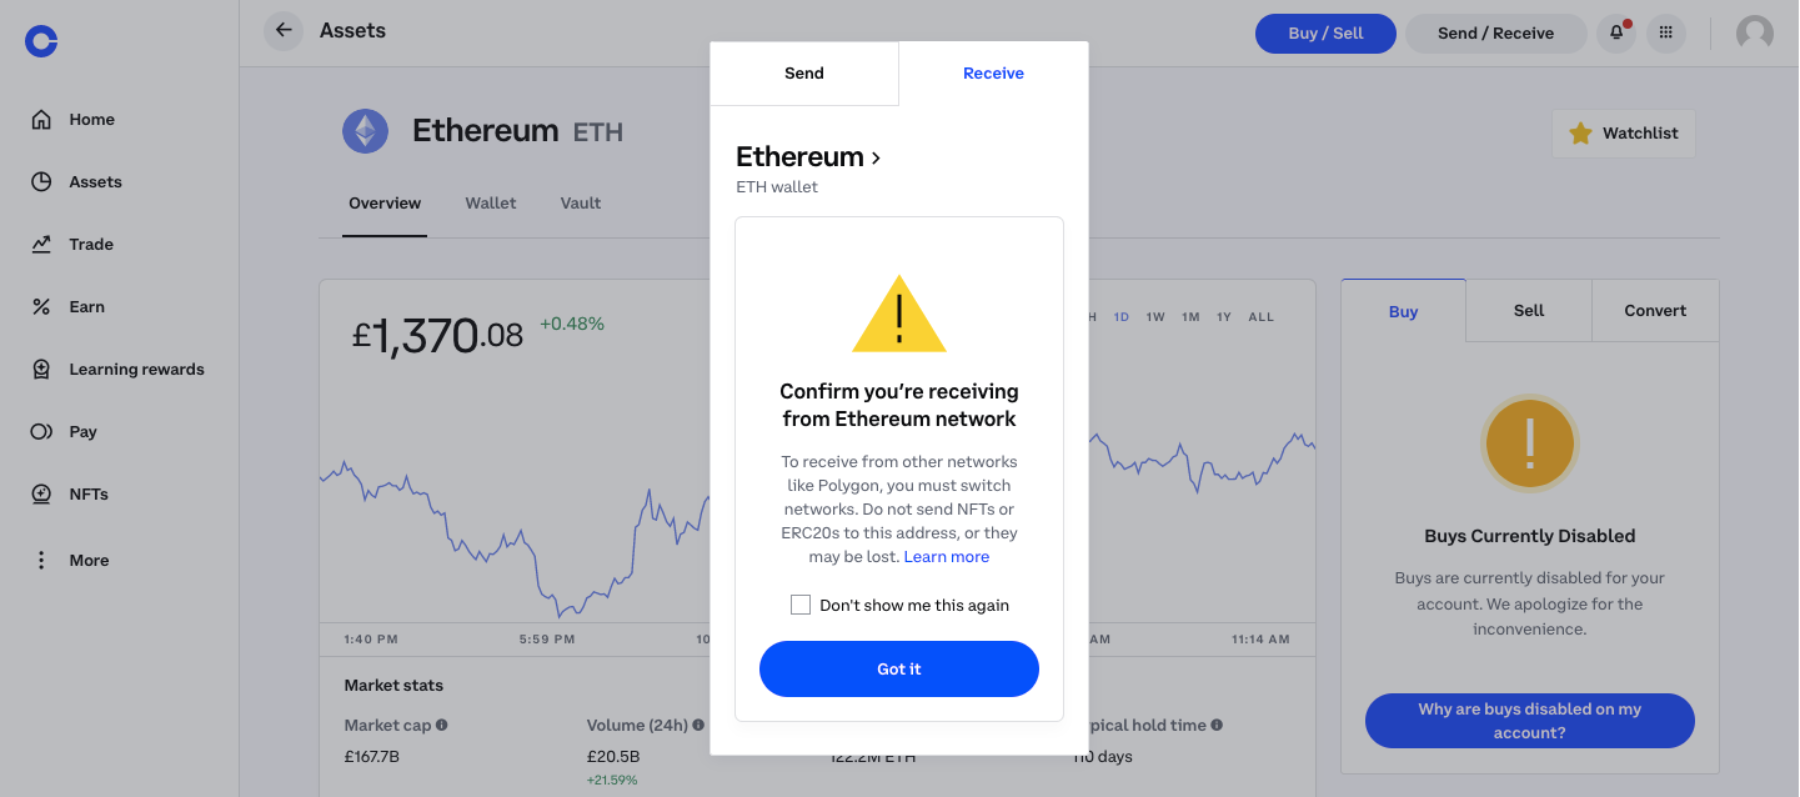
Return to Coinbase and select the crypto to transfer. Paste the Metamask wallet address for the chosen crypto to transfer that was copied in the above step. The blockchain network will also need to be selected for the selected crypto. In the example of Ethereum, the ETH wallet address should be shown on the Coinbase withdrawal page with the selected ERC-20 blockchain network.
Step 5. Review withdrawal details and complete transfer
Review the withdrawal transaction details such as the cryptocurrency and blockchain network and then click on ‘Continue’ to proceed to the next stage. Ensure all the details are entered correctly as a mistake can lead to a rejected Coinbase withdrawal.
The next page shows the amount to transfer, wallet address, and transaction and network fees to be deducted. It is best to send more than the minimum amount to ensure sufficient funds cover transaction costs such as gas fees. Click on ‘Send Now,’ and the transfer will be reflected as a ‘Deposit’ in the Metamask wallet address.
Getting Started with Coinbase and Metamask
In this section, we offer new users the steps involved in creating a Coinbase and Metamask wallet account for those who don't have one yet.
How to Create a Coinbase Account – A Quick Guide
To create a new account on Coinbase, follow these steps:
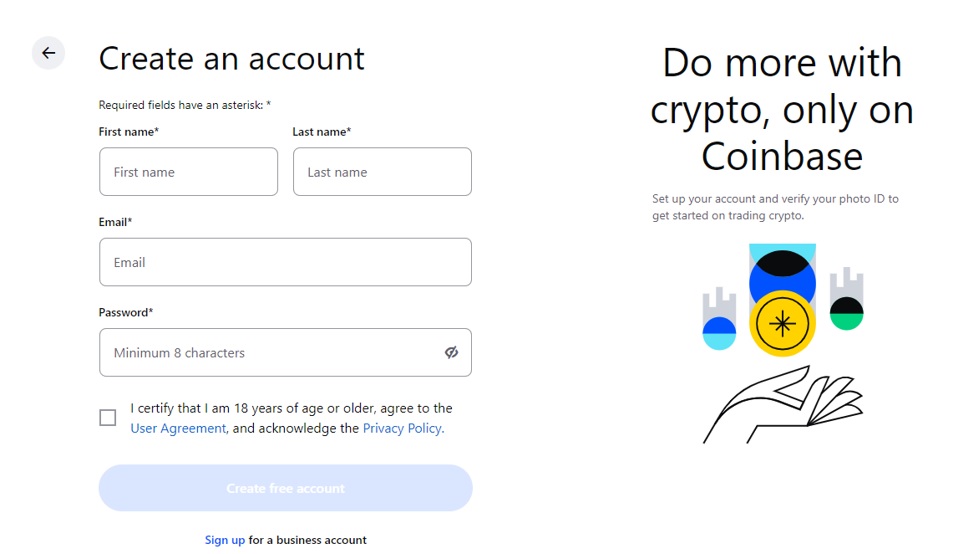
Step1 – Sign Up
The initial step is to visit the Coinbase website. Tap ‘Get Started’ to access the registration page. Beginners must supply details, including their full name, email address, and password. Tap on the accompanying terms and conditions (T&C) box and click on ‘Create Free Account’ to move to the next stage.
Step 2 – Verify ID
The next step is to verify identity. Tap the profile icon and choose the ‘Verify’ button. Then, upload a copy of a recent driver’s license that reflects the investor's full legal name or submit a copy of a government-issued identity card. Once this is done, Coinbase will begin verifying the submitted credentials.
Step 3 – Deposit
New users must set up a payment method before making a deposit. Coinbase accepts bank wire transfers, credit/debit cards, PayPal, Google and Apple Pay, and crypto deposits.
Step 4 – Buy Crypto
Once the deposit is completed, the user can proceed to purchase any of the available digital assets on the platform. Click ‘Buy/Sell' and select a cryptocurrency. For example, to buy Ethereum, choose ETH from the list, enter the purchase amount, and click on the accompanying dialogue box to complete the transaction.
How to Create a Metamask Wallet – A Quick Guide
Metamask is a well-known crypto wallet for its ease of use. This is evident in the sign-up process. To get started, follow these steps:
Step 1 – Download Metamask
Head over to the Metamask website to get started. The crypto wallet step allows users to download the Metamask app on their smartphone or as a browser extension. Click the ‘Download for Chrome’ button to download on a PC and add the browser extension.
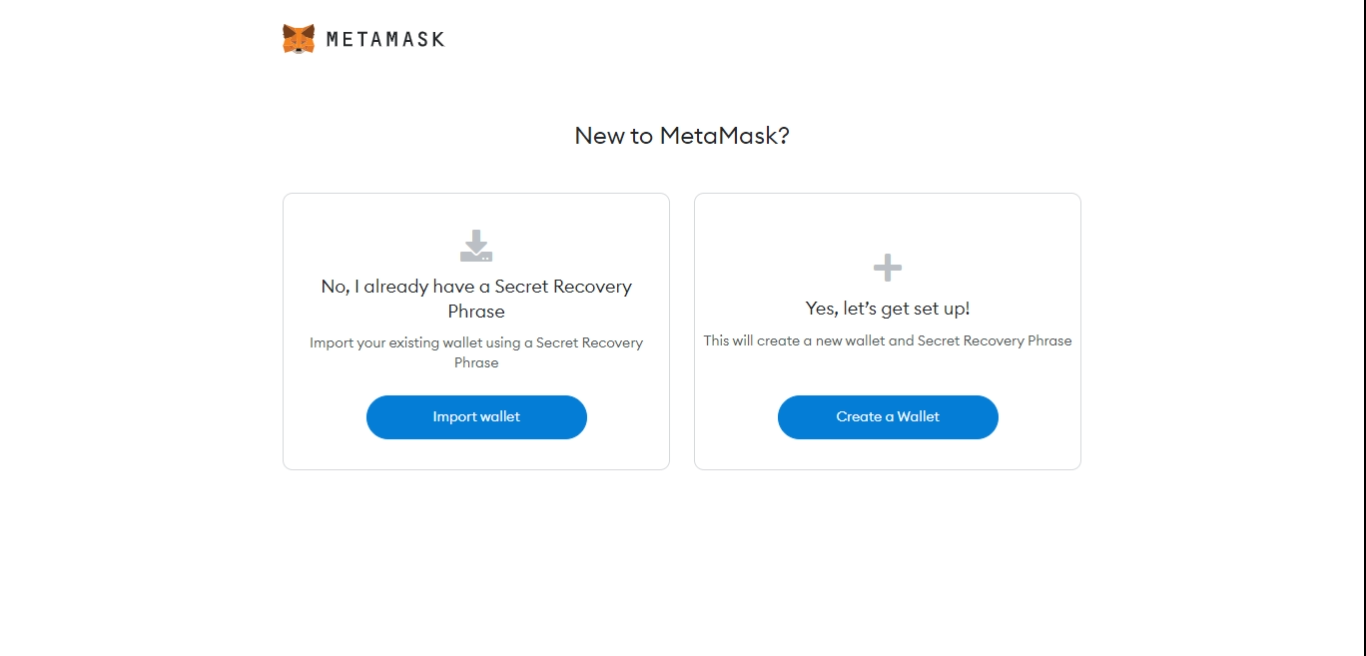
Step 2 – Create a Wallet
Next, create a new wallet. If this is your first time on the platform, click on the ‘Create a New Wallet' icon and follow the on-screen prompts. On the next page, a set of 12 random words will be displayed. This is the user's seed phrase, and it must be stored in a safe place. There's nothing more important in a MetaMask wallet than the recovery phrase.
Investors should keep it safe at all times. The recovery phase works like a backup security system, allowing users to gain access to their accounts from other devices if they lose the one they used to open the account.
Step 3 – Create a Password
Users can set up an alphanumeric password or use a biometric security system.
Step 4 – Complete the Process
Then, click on the ‘T&Cs’, creating a new wallet step.
Can You Transfer Crypto from Coinbase to Metamask?
Coinbase users can easily move their digital assets from the platform to Metamask. However, there are some important things to be aware of. The first is the coin to be transferred, the network on which the transfer will occur, and the recipient's Metamask wallet. Investors must ensure the right blockchain network is chosen in the MetaMask account. Transferring crypto from Coinbase to an external wallet has no fees, but a standard blockchain fee will apply.
For instance, when transferring Binance Coin (BNB) or assets hosted on the Binance Smart Chain (BSC), users must first switch the network to BSC. Once this is done, the wallet will generate a wallet address for that network. Changing the network can be done via a third-party service like Chainlist or manually inputting the new blockchain's data.
The Fees to Transfer From Coinbase To Metamask
Coinbase does not charge any fee for users to send digital assets such as Bitcoin to an external cryptocurrency wallet. However, Coinbase users would be charged based on the current network congestion when the trade is placed. The actual fee incurred is called a network fee. For example, the transaction fee for Bitcoin is 0.0005 BTC at the time of writing.
You might also be interested in
Updated Dec 19th, 2025
How To Transfer From Coinbase To Binance
Updated Dec 19th, 2025
How to Send Crypto from Coinbase to Trust Wallet

Updated Dec 19th, 2025
How To Transfer From Coinbase to Kraken
Updated Dec 19th, 2025
How To Transfer Money From Coinbase To PayPal
Updated Dec 19th, 2025
How to Find Transaction History on Coinbase
Kevin Groves
Kevin started in the cryptocurrency space in 2016 and began investing in Bitcoin before exclusively trading digital currencies on various brokers, exchanges and trading platforms. He started Hedge With Crypto to publish informative guides about Bitcoin and share his experiences with using a variety of crypto exchanges around the world.